suntouch thermostat manual
SunTouch thermostats offer advanced, user-friendly temperature control for floor heating systems. Models like SunStat Pro2 and SunStat View provide programmable scheduling, GFCI safety, and compatibility with 120/240 VAC systems, ensuring efficient and safe operation.
1.1 Overview of SunTouch Thermostat Models
SunTouch offers a range of thermostat models, including SunStat Pro2, SunStat View, and SunStat Command. These models are designed for 120/240 VAC systems, supporting resistive floor heating solutions. They feature programmable scheduling, easy setup wizards, and built-in GFCI for enhanced safety. The SunStat View and Pro2 models are known for their user-friendly interfaces, while the Command series offers advanced customization options. All models ensure efficient temperature control and comply with FCC and ICES safety standards, making them reliable choices for various heating setups.
1.2 Importance of Using the Manual
The manual is essential for understanding and operating SunTouch thermostats effectively. It provides detailed instructions for installation, programming, and troubleshooting, ensuring safe and efficient use. By following the guidelines, users can avoid errors, comply with safety standards, and optimize heating performance. The manual also includes critical information about FCC and ICES compliance, ambient installation conditions, and maintenance best practices, making it an indispensable resource for both initial setup and long-term use of the thermostat.
Installation Requirements
Ensure a UL-listed electrical box and proper wiring materials. Install in a dry, indoor location, away from water sources, direct sunlight, and drafts for accurate temperature control.
2.1 Tools and Materials Needed
The installation requires a UL-listed electrical box, wire nuts, and 12- or 14-gauge wiring cable. Flexible or rigid conduit may be necessary, ensuring all components are UL-listed. Essential tools include a screwdriver, wire strippers, and pliers for secure connections. Additionally, verify the compatibility of wire nuts with the thermostat’s terminal sizes. Always use materials rated for the system’s voltage to ensure safety and compliance with electrical standards. Proper sizing and ratings are critical to avoid installation issues and ensure reliable performance.
2.2 Safety Precautions and Considerations
Warning: Turn off power at the circuit breaker before starting installation to avoid electrical shock. Ensure the thermostat is installed by a licensed electrician if local codes require it. Keep the device away from water sources, direct sunlight, and drafts to maintain accurate temperature readings. Install in a dry, indoor location only, avoiding areas near showers, bathtubs, or hot-water pipes. The thermostat must operate within an ambient temperature range of 32°F to 86°F (0°C to 30°C). Always follow safety symbols and guidelines to prevent personal injury or property damage.
Wiring and Connections
Detach the display front before wiring to ensure safe installation. Use wire nuts for secure connections, and verify compatibility with your floor heating system’s voltage requirements.
3.1 Understanding Wire Connections
Understanding wire connections is crucial for safe and proper installation. Detach the display front before connecting wires to avoid damage. Use the included wire nuts for secure, UL-Listed connections. Ensure compatibility with your floor heating system’s voltage (120/240 VAC). Correct wiring prevents malfunction and ensures safety. Always turn off power before starting. Refer to the manual for specific wire assignments and configurations. Improper connections can lead to system failure or safety hazards. Test the floor sensor connection for accuracy. Follow all safety guidelines to ensure reliable operation and compliance with electrical standards.
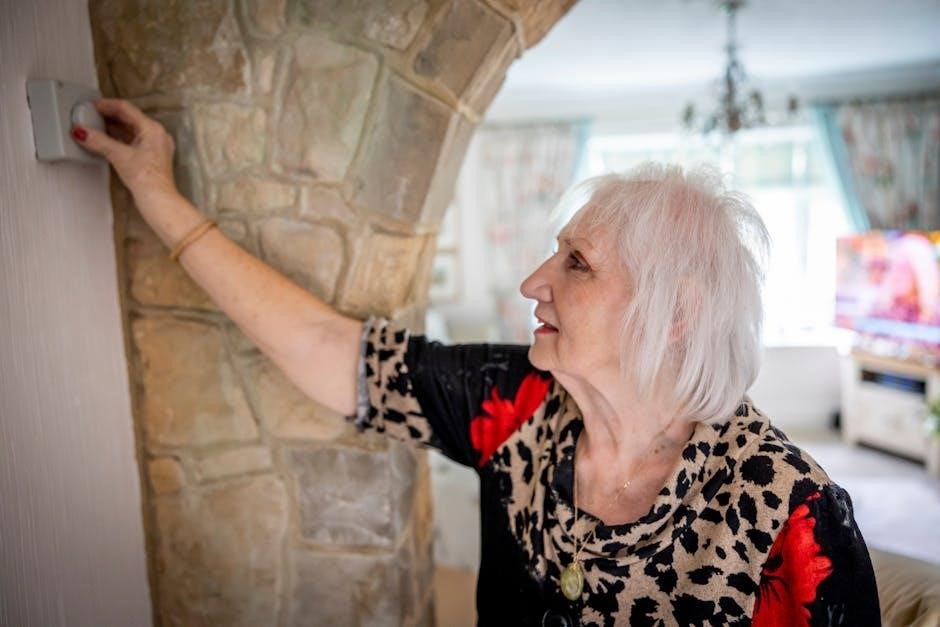
3.2 Mounting the Thermostat Control
Mount the thermostat control on a stable, dry wall surface, avoiding direct sunlight, water sources, or drafts. Install it at a height of 4-5 feet for easy access and accurate temperature sensing. Ensure the area is free from electrical interference. Use a level to ensure straight placement. Secure the base to the wall using appropriate hardware. Avoid mounting near heating vents or pipes to prevent inaccurate readings. Proper installation ensures reliable performance and safety. Follow the manual’s guidelines for optimal placement and secure fastening.
Operating the Thermostat
The SunTouch thermostat features an intuitive interface with programmable scheduling, easy setup wizards, and GFCI protection. Its display provides clear temperature control and operational status updates, ensuring seamless functionality and energy efficiency.
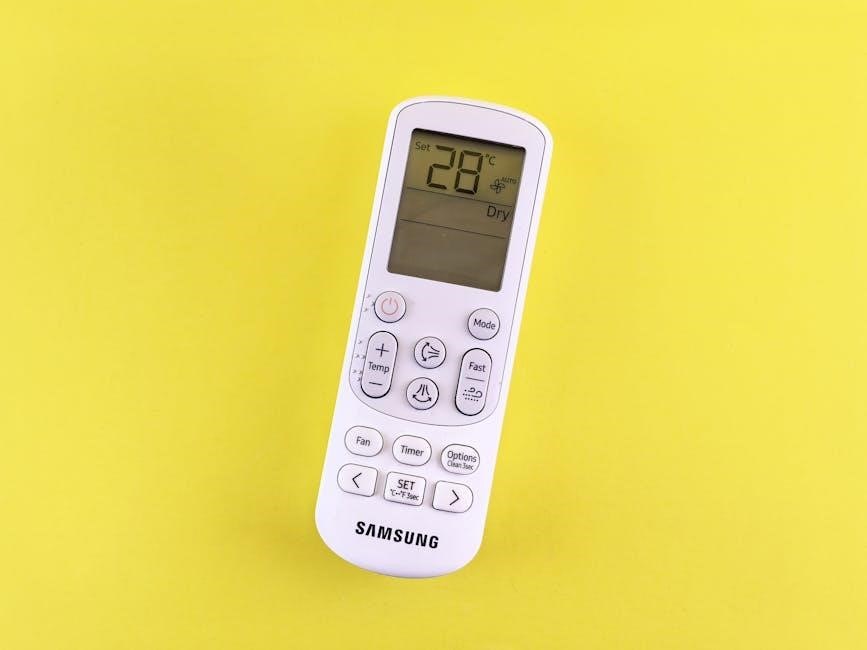
4.1 Features and Display Overview
The SunTouch thermostat boasts a user-friendly display with clear temperature readings and status indicators. It includes programmable scheduling, easy setup wizards, and GFCI protection for enhanced safety. The interface allows users to adjust settings effortlessly, ensuring optimal comfort and energy efficiency. The display provides real-time updates on the system’s operation, making it easy to monitor and control heating levels. Additional features like ambient temperature sensing and adaptive learning capabilities further optimize performance, ensuring a seamless user experience.
4.2 On/Off and GFCI Functions
The SunTouch thermostat features an intuitive On/Off switch, allowing users to easily activate or deactivate the heating system. This function ensures precise control over energy usage and comfort levels.
The built-in GFCI (Ground Fault Circuit Interrupter) provides enhanced safety by monitoring electrical currents and interrupting them in case of ground faults. This protects against shock hazards, ensuring a secure operating environment for the heating system and its users. The GFCI function is a critical safety feature that complies with electrical standards and regulations.
Customizing Settings
SunTouch thermostats allow programmable temperature control and scheduling. Users can adjust settings to optimize comfort and energy efficiency, with options for custom profiles and advanced features.
5.1 Adjusting Temperature and Schedules
The SunTouch thermostat allows users to easily adjust temperature settings and customize schedules for optimal comfort and energy efficiency. Using the programmable feature, you can set specific temperatures for different times of the day or week. The thermostat’s interface provides a straightforward way to modify schedules, ensuring your heating system operates according to your preferences. Advanced models, like the SunStat Pro2 and SunStat View, offer intuitive controls for precise temperature adjustments and programmable scheduling, making it simple to balance comfort and energy savings.
5.2 Advanced Customization Options
The SunTouch thermostat offers advanced customization options to tailor your heating system to specific needs. Users can program custom temperature profiles, adjust energy-saving modes, and set precise schedules. The thermostat also supports features like GFCI protection and compatibility with various floor heating systems, including HeatWeave Mat and WarmWire. Advanced settings allow for fine-tuning temperature thresholds and system responses, ensuring optimal performance. These features can be easily accessed and modified through the thermostat’s control panel, providing enhanced control over your heating environment. This customization ensures energy efficiency and personalized comfort.
Safety and Compliance
SunTouch thermostats comply with FCC Part 15 and ICES-003 standards, ensuring safe operation. They include GFCI protection and meet regulatory requirements for electrical safety and performance.
6.1 FCC and ICES Compliance
SunTouch thermostats comply with FCC Part 15 and ICES-003 standards, ensuring minimal electromagnetic interference. They meet regulatory requirements for safe operation in residential environments. These certifications guarantee the devices do not cause harmful interference and can tolerate external interference without malfunction. Compliance with these standards ensures reliable performance and adherence to safety regulations. Proper installation in dry, indoor locations, away from direct sunlight and water sources, is essential to maintain compliance and functionality. Always follow local electrical codes for installation.
6.2 Ambient Conditions for Installation
SunTouch thermostats are designed for indoor use in dry locations. They operate effectively within an ambient temperature range of 32°F to 86°F (0°C to 30°C). Avoid installing near drafts, direct sunlight, hot-water pipes, or ducting, as these can cause inaccurate temperature readings. Keep the thermostat at least 4 feet away from water sources like sinks, showers, and bathtubs. Additionally, install it away from areas with electrical interference to ensure proper functionality. Always position the thermostat at a suitable height for easy access and viewing.
Troubleshooting and Maintenance
Regularly check sensors for accuracy and ensure no electrical interference. Reset the thermostat if unresponsive. Clean the display and update firmware for optimal performance.
7.1 Common Issues and Solutions
Common issues with SunTouch thermostats include inaccurate temperature readings, unresponsive displays, or wiring malfunctions. Ensure sensors are clean and free from interference. Check wire connections for looseness or damage. Reset the thermostat by turning off power at the circuit breaker for 10 seconds. If issues persist, refer to the manual for specific troubleshooting steps or contact customer support. Regular maintenance, such as updating firmware and cleaning the display, helps prevent operational problems.
7.2 Best Practices for Maintenance
Regularly clean the thermostat display and sensors to ensure accuracy. Check wire connections for looseness or corrosion. Update firmware periodically for optimal performance. Ensure the thermostat is installed in a dry, stable environment, away from direct sunlight and water sources. Refer to the manual for specific maintenance recommendations. Schedule annual professional inspections for complex systems. Proper maintenance ensures reliable operation, extends product lifespan, and prevents unexpected issues.