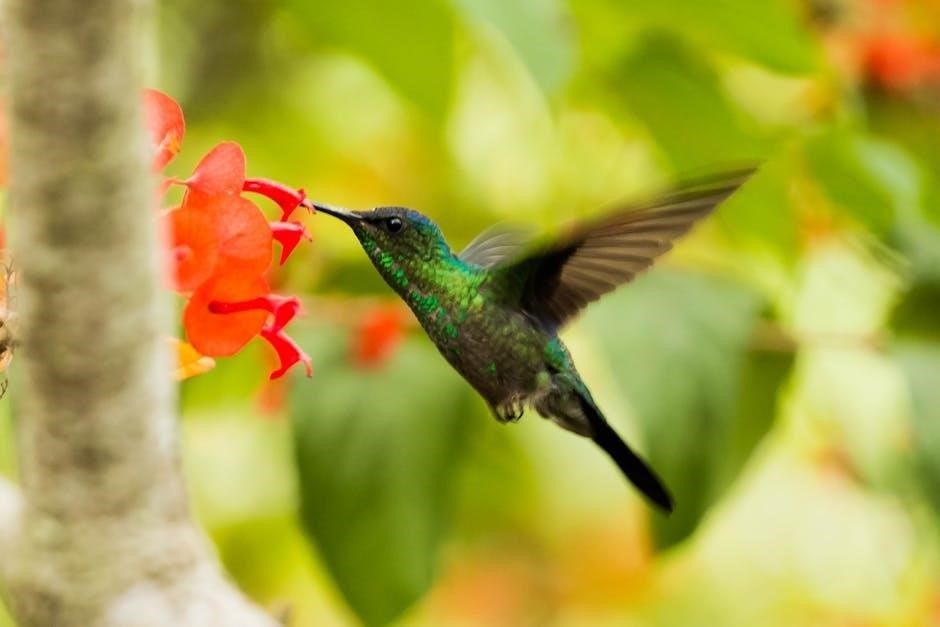
origami hummingbird instructions
Welcome to our origami hummingbird instructions! This step-by-step guide will help you create a beautiful, intricate design․ Perfect for all skill levels, it’s a fun and creative process․
Overview of the Project
The origami hummingbird is a delightful and intricate paper craft project that transforms a simple sheet of paper into a lifelike bird․ Designed for all skill levels, this project focuses on creating a 3D model with realistic features, such as wings and a tail․ By following step-by-step instructions, you’ll learn essential folding techniques to bring your hummingbird to life․ This project is perfect for improving your origami skills and creating a charming decorative piece․ It’s a fun and rewarding activity that combines art and precision․
Importance of Following Step-by-Step Guides
Following step-by-step guides is crucial for successfully creating an origami hummingbird․ Each fold builds on the previous one, requiring precision to achieve the desired shape․ Deviating from the instructions can lead to misalignments and a less realistic final product․ By adhering to the guide, you ensure structural integrity and proper proportions․ This method also helps beginners master fundamental folding techniques, making the process enjoyable and rewarding․ Patience and attention to detail are key to crafting a beautiful, lifelike origami hummingbird․

Materials Needed for the Origami Hummingbird
To craft an origami hummingbird, you’ll need a square sheet of paper, preferably colored or patterned for a vibrant appearance․ No additional materials are required․
Choosing the Right Paper
Selecting the right paper is crucial for your origami hummingbird․ Opt for a square sheet, as it ensures symmetry and ease of folding․ Colorful or patterned paper adds vibrancy and realism to your bird․ Avoid thick or textured paper, as it can be difficult to fold precisely․ For beginners, lightweight kami or chiyogami paper is ideal․ Ensure the paper is smooth and free of creases to achieve clean folds․ Proper paper choice enhances both the appearance and ease of assembly of your origami hummingbird․
Tools Required for Folding
To create an origami hummingbird, you’ll need a few essential tools․ A flat, smooth surface is ideal for folding․ A ruler or similar tool can help create sharp creases․ A bone folder or the edge of a credit card is perfect for refining folds․ Tweezers may be useful for handling small details․ A pencil can mark folding lines if needed․ Optional tools like a cutting mat or craft knife can aid in preparing paper․ Having these tools ready ensures precise folds and a polished final result․ They enhance your folding experience and help achieve professional-looking details․
Basic Folds for the Origami Hummingbird
Start with a square paper․ Fold it diagonally to create a triangle․ Unfold and repeat for the other diagonal․ This forms the base structure for your hummingbird․
Initial Folding Techniques
To begin, take a square piece of paper and fold it in half diagonally․ This creates a triangle and forms the initial crease․ Next, unfold the paper and fold it diagonally in the opposite direction․ This step establishes the fundamental structure of the hummingbird․ Ensure the creases are sharp and precise, as they guide subsequent folds․ These initial folds are crucial for achieving symmetry and balance in your design․ Start with the colored side facing up for a vibrant finish․
Creating the Base Structure
Once the initial folds are complete, focus on constructing the base․ Fold the paper in half vertically, then horizontally, forming a compact square․ This square serves as the foundation․ Next, fold the sides to the center line, ensuring symmetry․ Fold the bottom corner up to meet the top, creating a triangle․ This step forms the body’s core․ Repeat the process on the opposite side to maintain balance․ Finally, fold the top layer down to secure the structure, ensuring edges align perfectly․ These folds establish the hummingbird’s proportions and stability․
Step-by-Step Instructions for the Hummingbird’s Body
Begin by folding the paper in half lengthwise, then unfold it․ Fold the top corners to the center line, forming a diamond shape․ Ensure edges align perfectly․
Folding the Body Shape
Start with the paper colored side up․ Fold the bottom point to the top diagonally, creating a crease, then unfold․ Next, fold the top corners to the center line, forming a diamond shape․ Ensure edges align neatly․ This establishes the body structure․ Fold the paper in half along the center line, then bring the bottom corners to the top edge, creating a compact shape․ This forms the base of the hummingbird․ Be precise to maintain symmetry and balance․
Forming the Neck and Head
To form the neck, fold the top portion of the body downward, creating a slender shape․ Next, take the top layer and fold it backward, forming a small triangle for the head․ Ensure the edges align neatly․ Fold the tip of the triangle downward to create the beak․ Adjust the proportions for symmetry․ This step brings the hummingbird to life, defining its distinctive features․ Precision is key to achieve a realistic appearance․ Follow the creases carefully to maintain balance and shape․
Creating the Wings and Tail
Learn to craft the wings and tail with precise folds․ Shape the wings for a natural look and attach the tail securely for balance and detail․
Folding the Wings
Folding the wings requires precision and patience․ Start by folding the top wing down along the dotted line, creating a crease, then unfold it․ Next, fold it down again, flattening the corner to form a sharp edge․ Repeat this process for the bottom wing, ensuring symmetry․ Adjust the wings to achieve a natural, three-dimensional appearance․ This step is crucial for the hummingbird’s realistic look and flight-like pose․ Follow the creases carefully to maintain the shape and proportions of the wings․
Attaching the Tail
Attaching the tail is a delicate yet essential step․ Fold the tail section separately, ensuring it matches the body’s proportions․ To secure it, align the tail’s base with the back of the body․ Gently tuck the edges under the body’s layers, ensuring a seamless fit․ Adjust the tail’s angle for a natural posture․ This step completes the hummingbird’s structure, adding balance and harmony to the design․ Make sure the tail is firmly attached but still allows for subtle movement, enhancing the bird’s lifelike appearance․

Adding Final Details
Refine your hummingbird by shaping the beak and adjusting wing angles for realism․ Add subtle creases to enhance feather textures and ensure all edges are smooth and even․
Shaping the Beak
The beak is a crucial detail that brings your origami hummingbird to life․ To shape it, fold the small triangular tip at the head downward, ensuring it’s proportional to the body․ Use a gentle crease to define the beak’s edge, making sure it’s smooth and even․ For precision, you can use a toothpick or similar tool to sharpen the fold․ This step adds character and completes the bird’s facial features, giving it a realistic appearance․ Patience and careful folding are key to achieving the perfect shape․
Adjusting the Wings for Realism
To achieve a realistic look, gently tilt the top and bottom wings downward, creating a natural angle․ Layer the wings slightly, allowing the top layer to overlap the bottom one, mimicking a bird in motion․ Adjust the edges to ensure they are even and smooth․ For added realism, you can fold the wingtips inward slightly to create a more dynamic shape․ These subtle adjustments will make your origami hummingbird appear more lifelike and graceful․ Practice makes perfect, so don’t hesitate to tweak the wings until you’re satisfied․
Useful Tips for Beginners
Start with high-quality, lightweight paper for easier folding․ Follow each step carefully and practice patience․ Small mistakes can be adjusted as you go․ Happy folding!
Common Mistakes to Avoid
One of the most common mistakes is inconsistent folding pressure, leading to uneven creases․ Ensure all folds are crisp and precise for stability․ Avoid misaligning edges, as this can distort the bird’s shape․ Folding the wings too tightly may restrict movement, while leaving them too loose can make them floppy․ Be careful not to over-fold, as this can weaken the paper․ Starting with the wrong paper type or size can also lead to poor results․ Always use the recommended tools and materials for best outcomes․ Patience and attention to detail are key to achieving a realistic hummingbird․
Practicing for Better Results
Regular practice is essential for mastering the origami hummingbird․ Start with simpler models to build confidence and technique․ Use high-quality paper suited for origami to ensure crisp folds․ Follow step-by-step tutorials carefully, pausing to review tricky steps․ Don’t rush—precision and patience yield better results․ If a fold doesn’t turn out perfectly, try again without frustration․ Over time, your folds will become more accurate, and your hummingbird will look more lifelike․ Consistent effort will refine your skills and enhance your enjoyment of this art form․